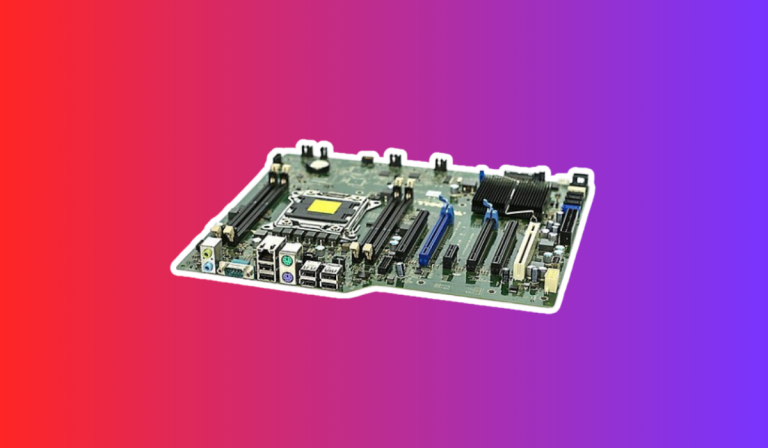
Can you overclock a motherboard?
Do you ever feel like your computer could use a little boost in performance? Well, you’re in luck! We’ll start by explaining what overclocking is and how it can benefit your computer. But before we get too carried away, it’s important to understand the compatibility and limitations of your motherboard.
Can All Motherboards Be Overclocked?
Understanding Motherboard Types
1. Entry-Level Motherboards: Entry-level motherboards, often found in budget-friendly computers, generally lack the advanced features necessary for overclocking. They are designed to provide basic functionality at an affordable price, but overclocking is not their strong suit. If you’re looking to overclock, it’s best to invest in a higher-end motherboard.
2. Mid-Range Motherboards: Mid-range motherboards strike a balance between affordability and performance. While they may offer some overclocking options, they might not provide the same level of flexibility and stability as high-end models. It’s important to research and ensure that the specific mid-range motherboard you choose supports overclocking.
3. High-End Enthusiast Motherboards: Designed for power users and enthusiasts, high-end motherboards often come with robust overclocking features. These motherboards are built to handle the demands of extreme overclocking and are equipped with advanced cooling systems and power delivery mechanisms. If you’re serious about pushing your computer’s performance to the limit, investing in a high-end enthusiast motherboard is the way to go.
Identifying Overclocking Support
To determine if your motherboard supports overclocking, you can refer to the manufacturer’s documentation or visit their website. Look for terms like “overclocking support” or “advanced BIOS settings” in the specifications.
Additionally, you can check online forums or user reviews to see if others have successfully overclocked the same motherboard model.
It’s important to note that even if your motherboard supports overclocking, there may still be limitations. These limitations can include factors such as power delivery capabilities, VRM (Voltage Regulator Module) quality, and overall stability. It’s crucial to understand and respect these limitations to avoid damaging your hardware.
How to Overclock a Motherboard
Step 1: Prepare Your Computer
Before diving into overclocking, it’s important to ensure that your computer is ready for the process. Start by updating your motherboard’s BIOS to the latest version provided by the manufacturer. This ensures compatibility with the latest overclocking features and bug fixes. Additionally, ensure that your computer has proper cooling mechanisms in place to handle the increased heat generated during overclocking.
Step 2: Access BIOS Settings
To overclock your motherboard, you need to access the BIOS (Basic Input/Output System) settings. Restart your computer and look for the key to enter the BIOS, which is usually displayed on the startup screen. Common keys include Del, F2, or F10, but it may vary depending on your motherboard manufacturer.
Step 3: Adjust CPU and RAM Settings
Once inside the BIOS, navigate to the CPU and RAM settings. Here, you can adjust the clock speed, voltage, and other related parameters to overclock your hardware. It’s crucial to make incremental changes and test stability after each adjustment. Gradually increase the clock speed and voltage while monitoring system stability and temperatures. If you encounter crashes or instability, revert to the previous stable settings.
Step 4: Stress Test and Monitor
After making adjustments, it’s essential to stress test your system to ensure stability and reliability. There are various stress testing tools available, such as Prime95 or AIDA64, that put your CPU and RAM under heavy load. Monitor your system temperatures and ensure they remain within safe limits. If temperatures become too high, consider improving your cooling solution.
Step 5: Fine-tune and Optimize
Overclocking is a process of trial and error, and it requires patience. Fine-tuning your overclocked settings is crucial to achieve the best performance without compromising stability. Experiment with different settings and run benchmark tests to evaluate the impact of each change. Keep in mind that every system is unique, so what works for one may not work for another.
Best Practices for Overclocking
1. Do Your Research
Before attempting to overclock, it’s crucial to do thorough research on your specific motherboard model and its overclocking capabilities. Read the manufacturer’s documentation, visit their website, and explore online forums to gather information about other users’ experiences with overclocking the same motherboard. Understanding the limitations and recommended settings for your motherboard will help you make informed decisions during the overclocking process.
2. Take Incremental Steps
Overclocking should be done in small, incremental steps. Gradually increase the clock speed, voltage, or other settings, and test for stability after each adjustment. Rushing into extreme overclocks can lead to system instability, crashes, or even hardware damage. By taking small steps, you can find the optimal balance between performance and stability.
3. Monitor Temperatures
Overclocking generates more heat, which can potentially damage your hardware if not managed properly. Monitor your system’s temperatures during the overclocking process using monitoring software or the BIOS itself. Ensure that temperatures stay within safe limits for your CPU, GPU, and other components. If temperatures become too high, consider improving your cooling solution by adding more fans or investing in a better CPU cooler.
4. Stress Test and Benchmark
After making adjustments to your overclocked settings, it’s important to stress test your system to ensure stability. Use stress testing tools like Prime95, AIDA64, or Intel Burn Test to put your CPU and RAM under heavy load.
Stress testing helps identify any potential instability issues or overheating problems. Additionally, run benchmark tests like Cinebench or 3DMark to evaluate the performance gains achieved through overclocking.
5. Maintain Proper Cooling
Overclocking increases the heat output of your components, so it’s crucial to maintain proper cooling to prevent overheating. Ensure that your computer has adequate airflow by cleaning dust from fans and vents regularly. Consider investing in high-quality thermal paste for your CPU and GPU to improve heat transfer. Additionally, consider aftermarket cooling solutions like CPU coolers or liquid cooling systems for more efficient heat dissipation.
FAQ’s
1. Can I overclock any motherboard?
No, not all motherboards support overclocking. Overclocking capabilities vary depending on the motherboard’s chipset and manufacturer. It’s essential to check the specifications and documentation of your specific motherboard model to determine if it supports overclocking.
2. Will overclocking my motherboard void its warranty?
Yes, overclocking your motherboard typically voids its warranty. Manufacturers do not provide warranty coverage for damages caused by overclocking since it involves running the hardware beyond its intended specifications. It’s important to be aware of this before attempting to overclock your motherboard.
3. Do I need specialized cooling for overclocking?
Yes, overclocking generates more heat, and as a result, specialized cooling solutions are often needed. It’s advisable to invest in adequate cooling mechanisms such as CPU coolers or liquid cooling systems to ensure that your components stay within safe temperature limits during overclocking.
4. Can overclocking damage my motherboard?
Yes, overclocking can potentially damage your motherboard if not done properly. Running your hardware at higher speeds and voltages than intended increases stress on the components, which can lead to instability, crashes, or even permanent damage. It’s crucial to follow best practices, monitor temperatures, and proceed with caution when overclocking.
5. Is it possible to revert back to default settings after overclocking?
Yes, it is possible to revert back to default settings after overclocking. Most motherboards allow you to reset the BIOS settings to their default values, effectively undoing any overclocking adjustments.
Conclusion
Overclocking a motherboard can be an exciting way to enhance your computer’s performance. However, it’s crucial to approach this process with caution and responsibility. Such as conducting thorough research, taking incremental steps, monitoring temperatures, stress testing, and maintaining proper cooling, you can safely and successfully overclock your motherboard.

